A creative mess is better than tidy idleness. ~Author Unknown
Any day spent sewing, is a good day. ~Author Unknown
I love sewing and have plenty of material witnesses. ~Author Unknown


Saturday, July 14, 2012

Needle Book from Sew Prim Khris.

Needlecase Tutorial

Please be mindful and not steal the pattern and claim it as your own. Link back to here if you make the needlecase as a matter of courtesy.

Supplies needed:

Pattern - click here to download the pattern
Two pieces of coordinating fabrics 9.5” x 10.5”
1 piece of felt about 7” square
Pellon or batting 9” x 10”
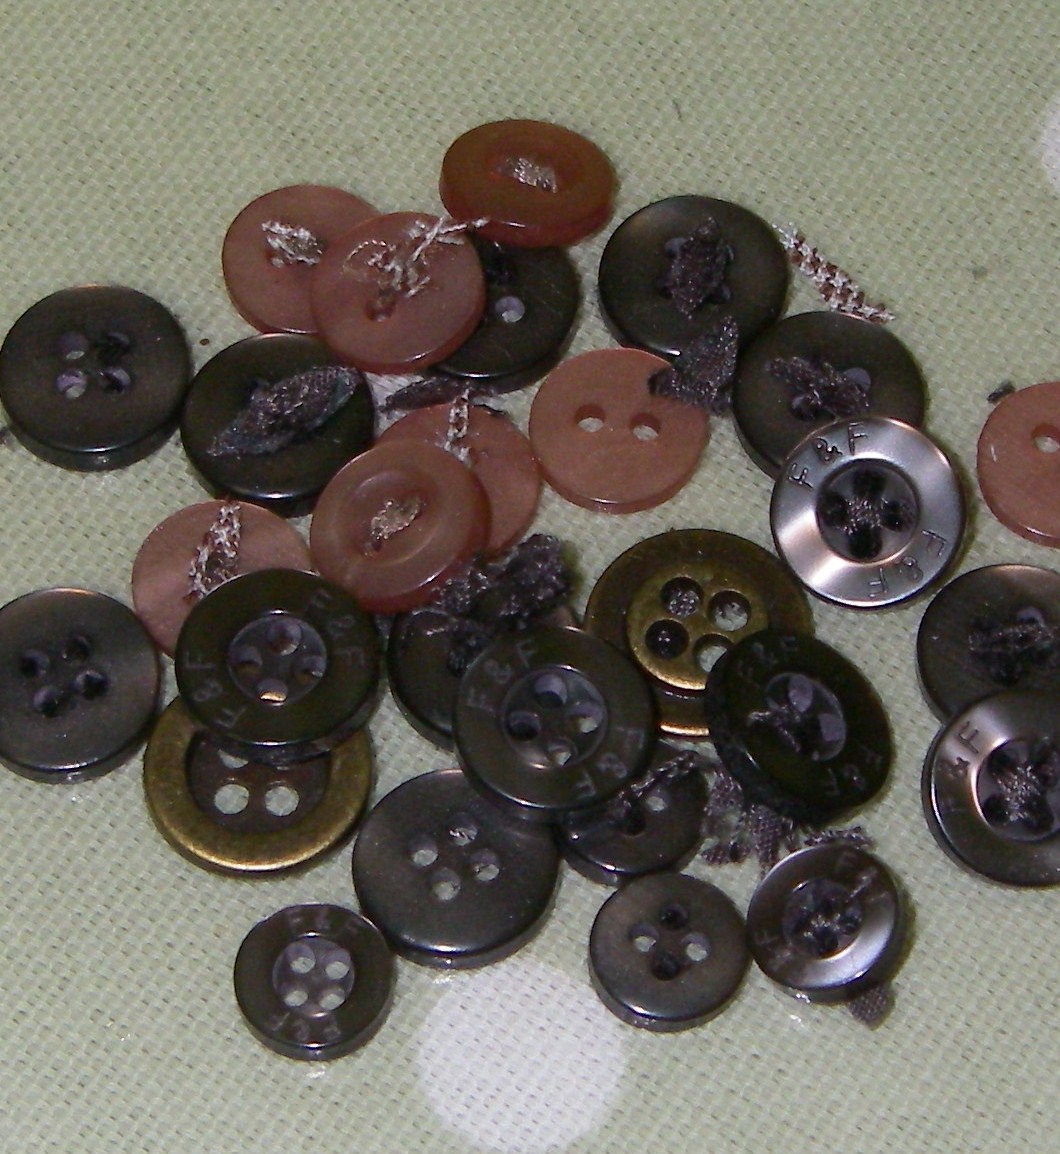
Button and clips


1.Using 2 different coordinating fabrics about 9.5” x 10.5” place them with right sides together


2.Place template onto wrong side of fabric and trace around it with a pencil – the traced line is the stitching line – then place the pellon or batting under the two fabrics – using a walking foot if you have one, sew on the traced line.


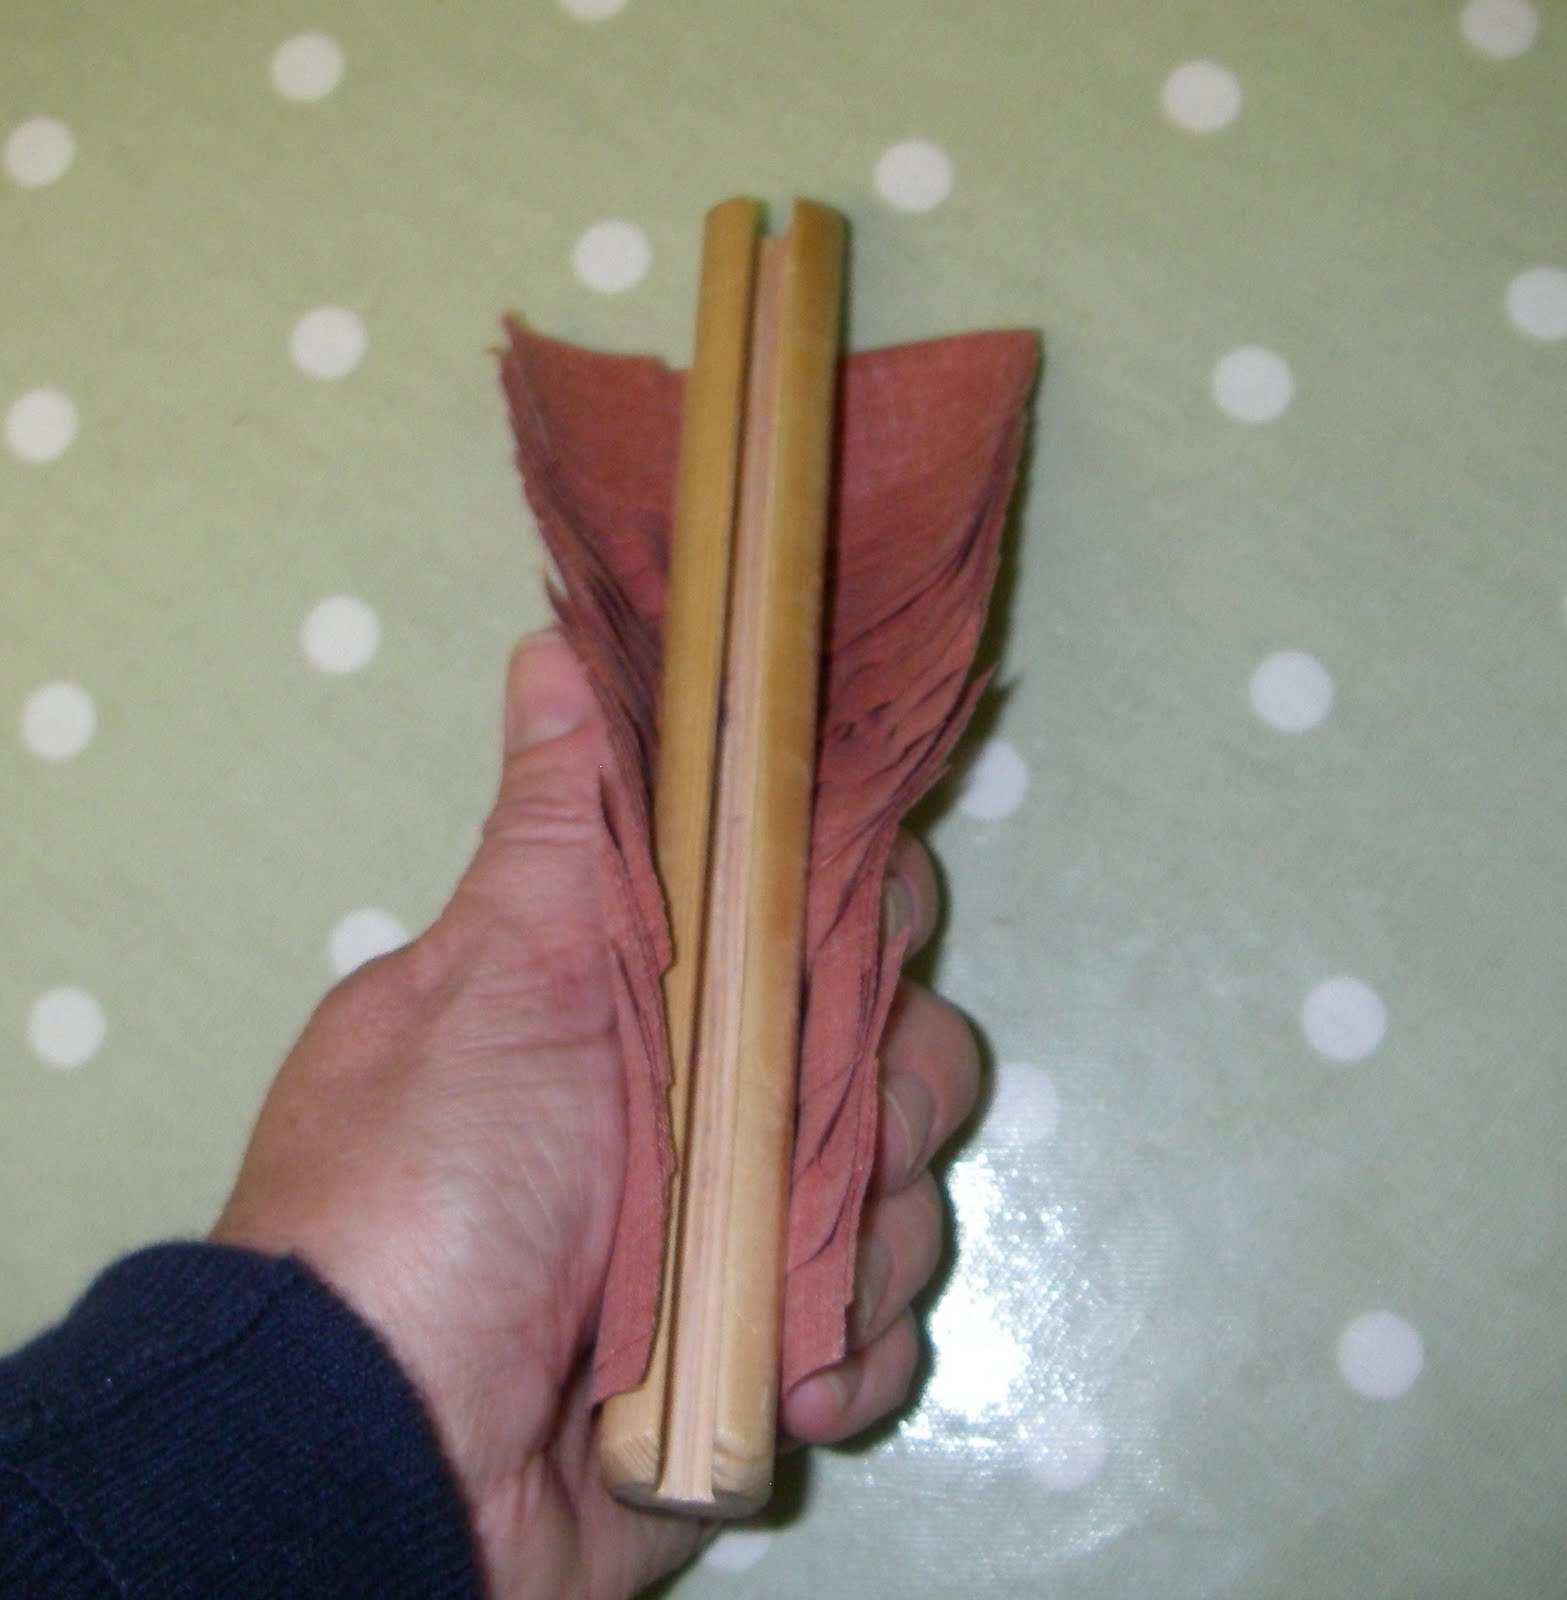
3.Cut about a quarter inch from the sewn line. Nick carefully into the curves. Cut a slit in one layer of the fabric that will be the inside of the needlecase so that you can turn it right side out being careful not to cut through more than one fabric. You dont need to worry about closing this join as the felt piece will be stitched over it.


4.I then iron it so it sits nicely – then sew a quarter inch from the outer edge if you like - I do on some and not on others.


5.Cut the smaller shape out using the felt


6.Lay this on the “inside” of the needlecase and sew from the inside of the curve from side to side to make eight segments as per the lines on the template


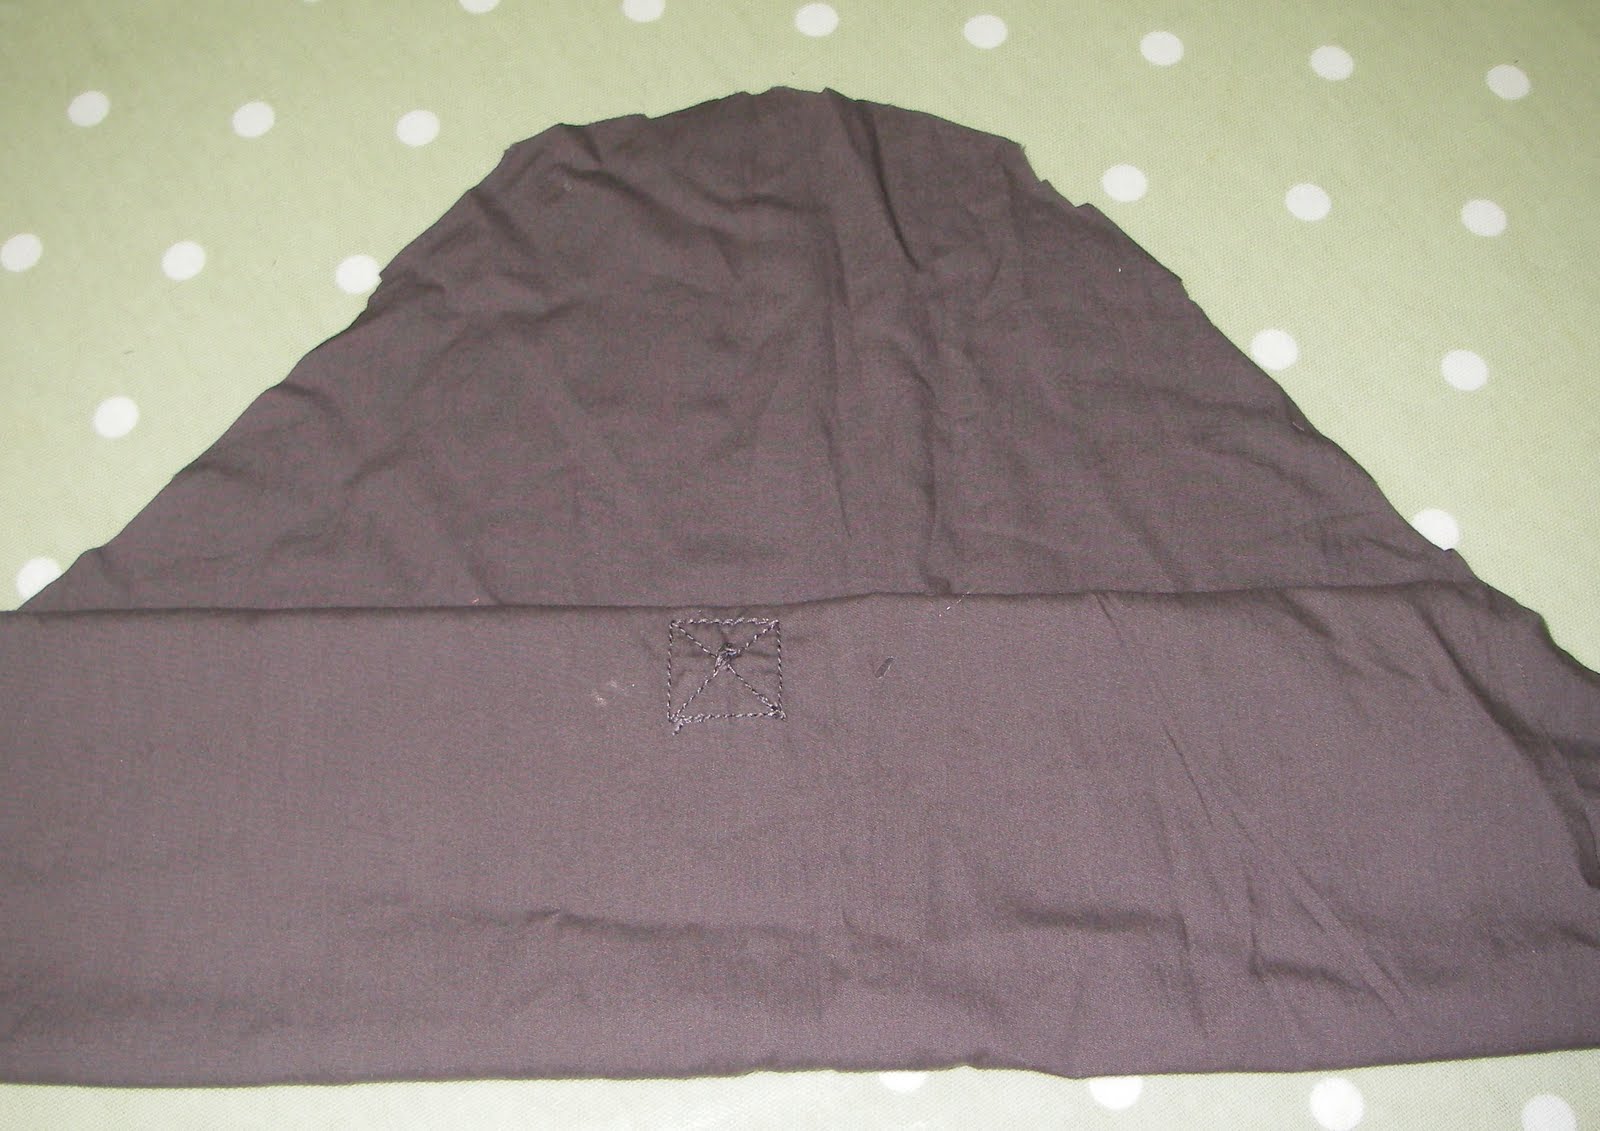
7.I then iron the needle case in half and then across the other half so that it folds neatly


8.Then fold both the left and right side towards the middle at the same time as the front towards the back


9.Sew on a "sew on snap" and a button to the tab and wahhhlaaa its done


Sunday, February 20, 2011

Don't fall over in shock girls but I am finally posting...thought a freebie might be nice.


Australian Homespun website has my How Charmed featured this month as their freebie. So jump across to download the directions on how to make this easy tote you can whip up over a weekend.

Wednesday, December 1, 2010

Sunday, October 10, 2010

Shoop-Shoop Bags - The Tutorial

Today, as promised, Aunt Pitty Pat and I are going to show you how to make Shoop-Shoop Bags. What are Shoop-Shoop Bags and how did they get their name?
Well, many, many years ago, I was making some wall-pockety things to hold Christmas cards. I made a LOT of them to give as gifts that year. The pattern called for a large strip of fashion fabric, backing fabric, and cotton batting, cut crosswise and then trimmed to an exact size. At the end of my wall-pocktey thing extravaganza, I found I had a REALLY BIG stack of leftover pieces, approximately 7 1/4" by 10 1/2" from those crosswise strips. What to do with them? I folded them in half...and thought about it...and thought some more. They were all Christmas fabrics, so that made their potential use a bit narrow as well. As it happened, I had purchased my first Christmas gift the day before and had the receipt sitting nearby. The wheels started turning (and smoke was coming off the top of my head!). Ah hah! I had a plan!

I stacked the outer, backing, and batting fabrics right sides together and slipped in a couple pieces of folded heavy ribbon. I sewed around the edges, leaving an opening for turning. After clipping and turning, I applied some Velcro on each end, then folded the whole mess in half and sewed up the sides, which also closed the opening I had left for turning. I grabbed that receipt and stuck it inside! I tucked my new, cute little bag into my purse and thought "One gift down, and umpteen more to go...and if something doesn't work out and needs to be returned, I know EXACTLY where to find the receipt!"
Well, after I showed a coworker my clever plan, everyone wanted one. I cranked them out and gave them away. Christmas came and went, and I decided to make some non-holiday-themed wall-pockety things. The leftovers from those got made up into the little bags and were used to store my and my coworkers' cash, makeup, and other goodies. One coworker, upon receiving hers, sat there pulling on the ribbon tabs to open and close the bag several times. She said "The Velcro sounds like it's saying Shoop-Shoop!" After that, we all started calling them Shoop-Shoop Bags. Such a simple thing, and I've seen little bags that are similar, but none that have the "handles" which make them so easy to use. I love challenging projects, but sometimes you just want a project that is quick, easy, and useful that you can assembly-line produce, with no hand sewing. This fits the bill!

Here's what you need:
  • 7 1/4" x 10 1/2" pieces of outer fabric, lining, and cotton batting such as Warm & Natural or Warm & White (or a couple layers of cotton flannel)
  • 5" piece of 3/4" wide hook-and-loop tape, such as Velcro
  • 5" piece of 1" or wider grosgrain ribbon, or a 1" x 5" piece of Ultrasuede, cut in half to make two 1" x 2 1/2" pieces
  • Thread, sewing machine, pins and basic sewing supplies
I prefer the Ultrasuede for the tabs, but didn't bring any with me to Ta Town, so I'm showing the grosgrain ribbon for this tutorial. I'd advise not using other ribbon because it just won't hold up. The Ultrasuede is really ideal, but not nearly as widely available as the grosgrain, which you can find almost anyplace ribbon is sold.

Here are the lining and batting pieces, cut and ready for sewing. I think the outer piece was hiding under the lining in this pic...
Find the center of each short end of either the outer or lining fabric and mark with a pin. Fold the ribbon pieces in half (remember, you cut them in half to make two 1" x 2 1/2" pieces) and pin them on the short ends, raw edges together - use two pins for each to keep them in place so they don't skew sideways. (Also, you may notice in the pic below that in this case, I've used a "one-way design" fabric, so I cut two pieces, 7 1/4" x 5 1/2" and seamed them to make a 7 1/4" x 10 1/2" piece with the design going in opposite directions.)
Sandwich the batting on the back, and the lining on top, right sides together, and pin everything together to hold in place.
Starting near a corner, on a long side, sew all the way around with a 1/4" seam allowance, leaving a 2" opening.
Clip the corners - clip across the corner, then again at a steeper angle for best results:
Turn the bag out through the opening and use your favorite device to pull the corners out nicely. I love a Bamboo Point Turner and Creaser for this job. You'll want nice, sharp corners on your bags. Here are a few I assembly-line sewed, ready for the next step:

On the inside, center the hook and the loop pieces of Velcro on each short end, close to the edge, and stitch all around, being careful not to catch/shred your thread when sewing the hook part.
Fold the bag in half, insides together. The Velcro will hold it closed and in place for sewing the sides. I always sew more than one at this point - it's much easier to butt one up against the previous one, since the bags are slightly thick - sewing from one to the next helps keep the presser foot level and moving smoothly. Backstitch on both ends to make the bag secure, since it will get a lot of stress when pulling it open. The opening you left will be closed automagically during this step - no handsewing!!!
It's that easy - you're done! You can add embellishments such as fabric flowers, fabric yo-yos, hot-fix crystals, etc. Now get thee to thy sewing machines and start making Shoop-Shoop Bags! Give them to your friends and say "Use this bag as THE ONE PLACE for all your receipts when buying your Christmas gifts! They'll all be in one place if you need to return something!" But don't forget to keep one for yourself! Then, make some more in non-Christmas fabrics to give and use for other stuff. Personally, I keep my cash - both bills and change - in one, and makeup in another. I recently had a friend pull one out of her purse to pay her lunch tab...I about gagged! It was so old and nasty looking! I told her "That's just soooooo WRONG! I shall make you a new one!" And the next time we had lunch, I had a pretty new one for her, but she wouldn't give up the old one - ugh...I wanted to burn it! So, give them a try and let me know how you like them :-) This really is my original design from about 20 years ago - as I said above, I've seen some similar, but not with both the Velcro and the tabs for easier opening. But I like to spread the joy, so feel free to make as many as you want :-)

Also, you may notice the very cool "fabric Ric-Rac" embellishment on some of the bags - here's the link to the tutorial for that - REALLY easy to do and it's just fabulous! I made some at the size recommended, then experimented with narrower versions. Zig-Zag Pillow

Sunday, August 22, 2010

Rag Rug Tutorial

This craft is extremely economical as the main material used is recycled clothing and bedding. Most fabric is suitable, the thicker the better, but keep to the same weight fabric in each rug,
eg. all shirts/bedding or all t shirts.
The only other material needed
is a piece of hessian for the back cloth
A rag rugger tool is available from Makings Handicrafts
Take a selection of old clothes
cut off the buttons and keep for further crafts
cut off all the seams and hems to leave flat pieces of fabric.
Smooth out the fabric and fold
then cut into strips about 1 inch /2.5cm wide
Next use the handy cutting gauge,
which is a 17.5cm long hardwood dowel
with a deep groove along 1 side
Wrap a long strip of cloth around it like a bandage

and cut through the groove with sharp scissors

This will reduce it to the lengths required for making the rug

Push the rugger under 2 or 3 strands of hessian as far as it will go

Place 1 end of a rag strip in the rugger jaw
Pull the rugger back until half the rag strip
has passed through the hessian and release.
There is no need to knot the rag
the next strip should be threaded into the hessian
about 4 or 5 strands away in each direction


Make a hem around the edge of the hessian
about 2 inches/5cm wide
using rag strips to hold it in place
Cover the whole of the hessian with strips.

The method of rugging is very flexible,
there is no need to work in straight rows


When the rug is complete give it a good shake
to remove bits and produce an even appearance
DO NOT VACUUM the rug!
Occasionally take out doors and shake to remove dust!


ENJOY :)