

Wednesday, December 1, 2010
Sunday, October 10, 2010
Shoop-Shoop Bags - The Tutorial

Well, many, many years ago, I was making some wall-pockety things to hold Christmas cards. I made a LOT of them to give as gifts that year. The pattern called for a large strip of fashion fabric, backing fabric, and cotton batting, cut crosswise and then trimmed to an exact size. At the end of my wall-pocktey thing extravaganza, I found I had a REALLY BIG stack of leftover pieces, approximately 7 1/4" by 10 1/2" from those crosswise strips. What to do with them? I folded them in half...and thought about it...and thought some more. They were all Christmas fabrics, so that made their potential use a bit narrow as well. As it happened, I had purchased my first Christmas gift the day before and had the receipt sitting nearby. The wheels started turning (and smoke was coming off the top of my head!). Ah hah! I had a plan!

Here's what you need:
- 7 1/4" x 10 1/2" pieces of outer fabric, lining, and cotton batting such as Warm & Natural or Warm & White (or a couple layers of cotton flannel)
- 5" piece of 3/4" wide hook-and-loop tape, such as Velcro
- 5" piece of 1" or wider grosgrain ribbon, or a 1" x 5" piece of Ultrasuede, cut in half to make two 1" x 2 1/2" pieces
- Thread, sewing machine, pins and basic sewing supplies
I prefer the Ultrasuede for the tabs, but didn't bring any with me to Ta Town, so I'm showing the grosgrain ribbon for this tutorial. I'd advise not using other ribbon because it just won't hold up. The Ultrasuede is really ideal, but not nearly as widely available as the grosgrain, which you can find almost anyplace ribbon is sold.
Here are the lining and batting pieces, cut and ready for sewing. I think the outer piece was hiding under the lining in this pic...

Find the center of each short end of either the outer or lining fabric and mark with a pin. Fold the ribbon pieces in half (remember, you cut them in half to make two 1" x 2 1/2" pieces) and pin them on the short ends, raw edges together - use two pins for each to keep them in place so they don't skew sideways. (Also, you may notice in the pic below that in this case, I've used a "one-way design" fabric, so I cut two pieces, 7 1/4" x 5 1/2" and seamed them to make a 7 1/4" x 10 1/2" piece with the design going in opposite directions.)

Sandwich the batting on the back, and the lining on top, right sides together, and pin everything together to hold in place.

Starting near a corner, on a long side, sew all the way around with a 1/4" seam allowance, leaving a 2" opening.

Clip the corners - clip across the corner, then again at a steeper angle for best results:

Turn the bag out through the opening and use your favorite device to pull the corners out nicely. I love a Bamboo Point Turner and Creaser for this job. You'll want nice, sharp corners on your bags. Here are a few I assembly-line sewed, ready for the next step:


Also, you may notice the very cool "fabric Ric-Rac" embellishment on some of the bags - here's the link to the tutorial for that - REALLY easy to do and it's just fabulous! I made some at the size recommended, then experimented with narrower versions. Zig-Zag Pillow
Sunday, August 22, 2010
Rag Rug Tutorial
This craft is extremely economical as the main material used is recycled clothing and bedding. Most fabric is suitable, the thicker the better, but keep to the same weight fabric in each rug,
eg. all shirts/bedding or all t shirts.
eg. all shirts/bedding or all t shirts.

The only other material needed
is a piece of hessian for the back cloth

A rag rugger tool is available from Makings Handicrafts

Take a selection of old clothes

cut off the buttons and keep for further crafts
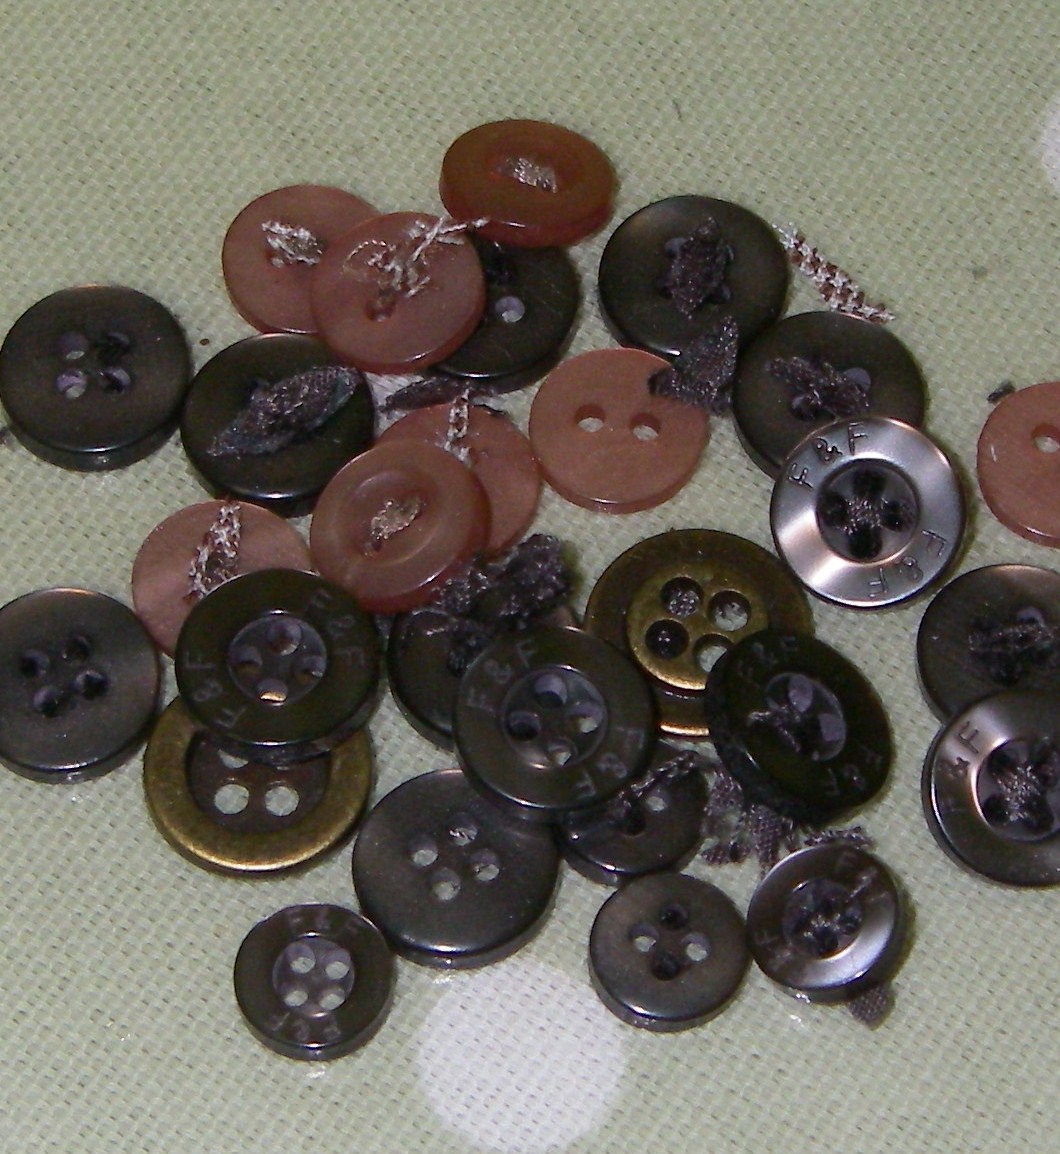
cut off all the seams and hems to leave flat pieces of fabric.
Smooth out the fabric and fold

then cut into strips about 1 inch /2.5cm wide

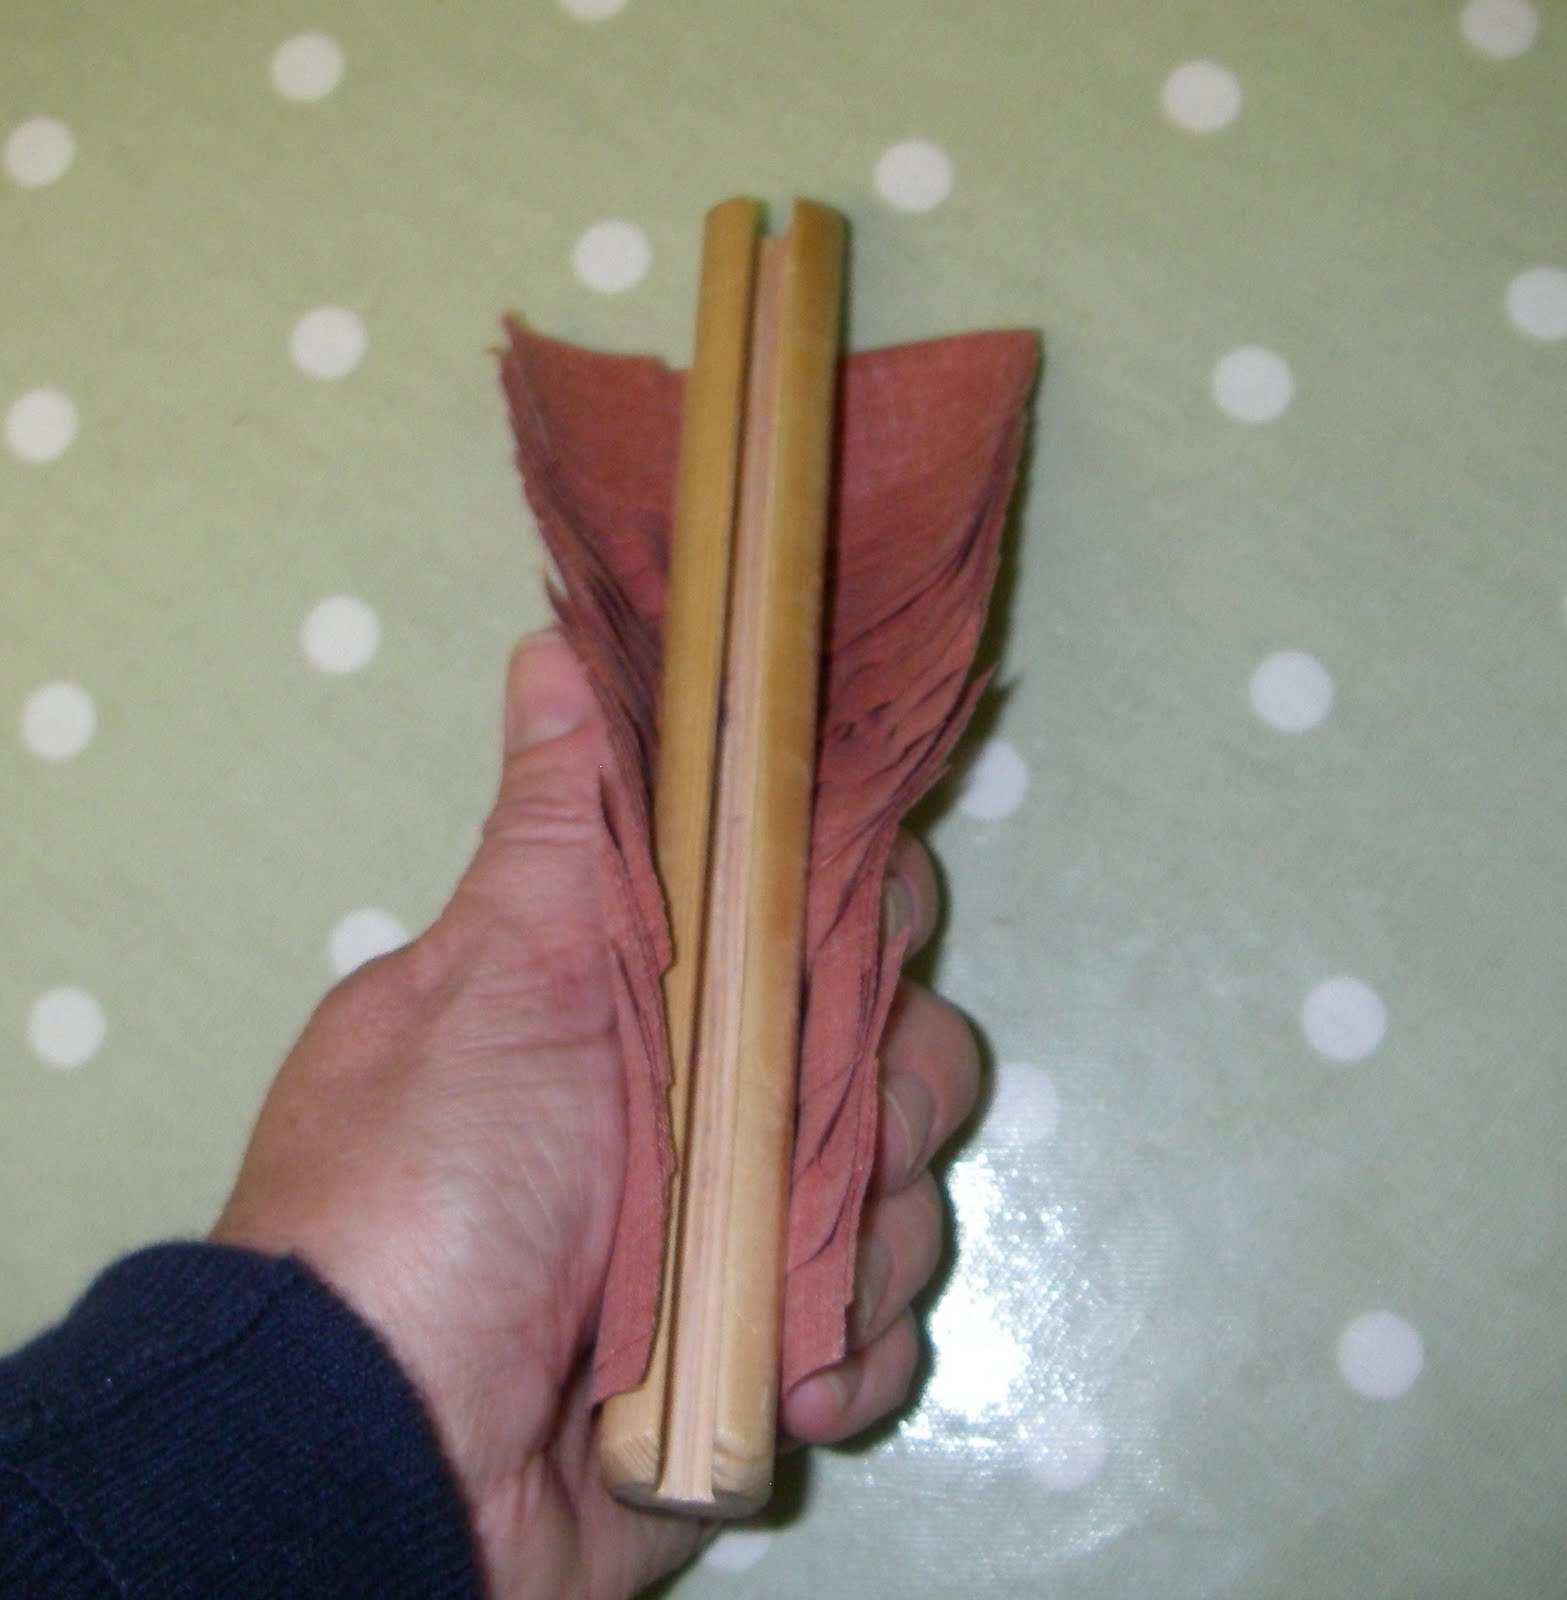
Next use the handy cutting gauge,
which is a 17.5cm long hardwood dowel
with a deep groove along 1 side

Wrap a long strip of cloth around it like a bandage


and cut through the groove with sharp scissors

This will reduce it to the lengths required for making the rug


Push the rugger under 2 or 3 strands of hessian as far as it will go


Place 1 end of a rag strip in the rugger jaw

Pull the rugger back until half the rag strip
has passed through the hessian and release.
There is no need to knot the rag

the next strip should be threaded into the hessian
about 4 or 5 strands away in each direction


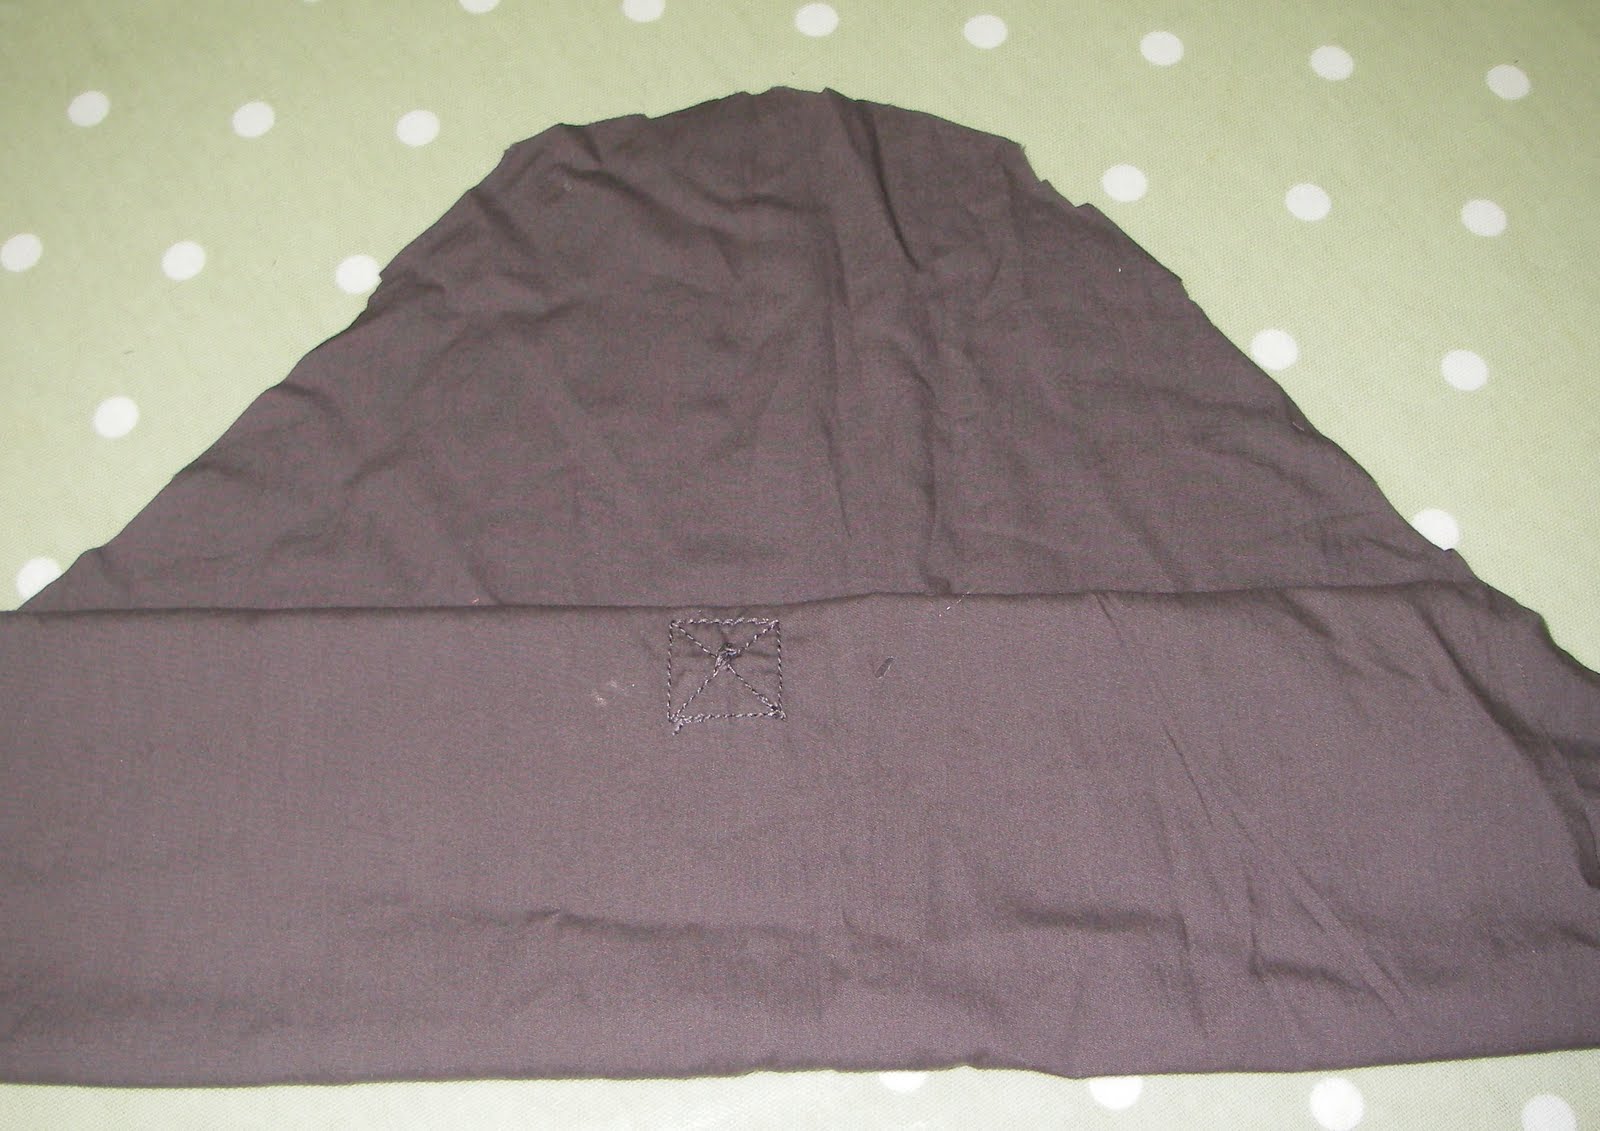
Make a hem around the edge of the hessian
about 2 inches/5cm wide
using rag strips to hold it in place

Cover the whole of the hessian with strips.

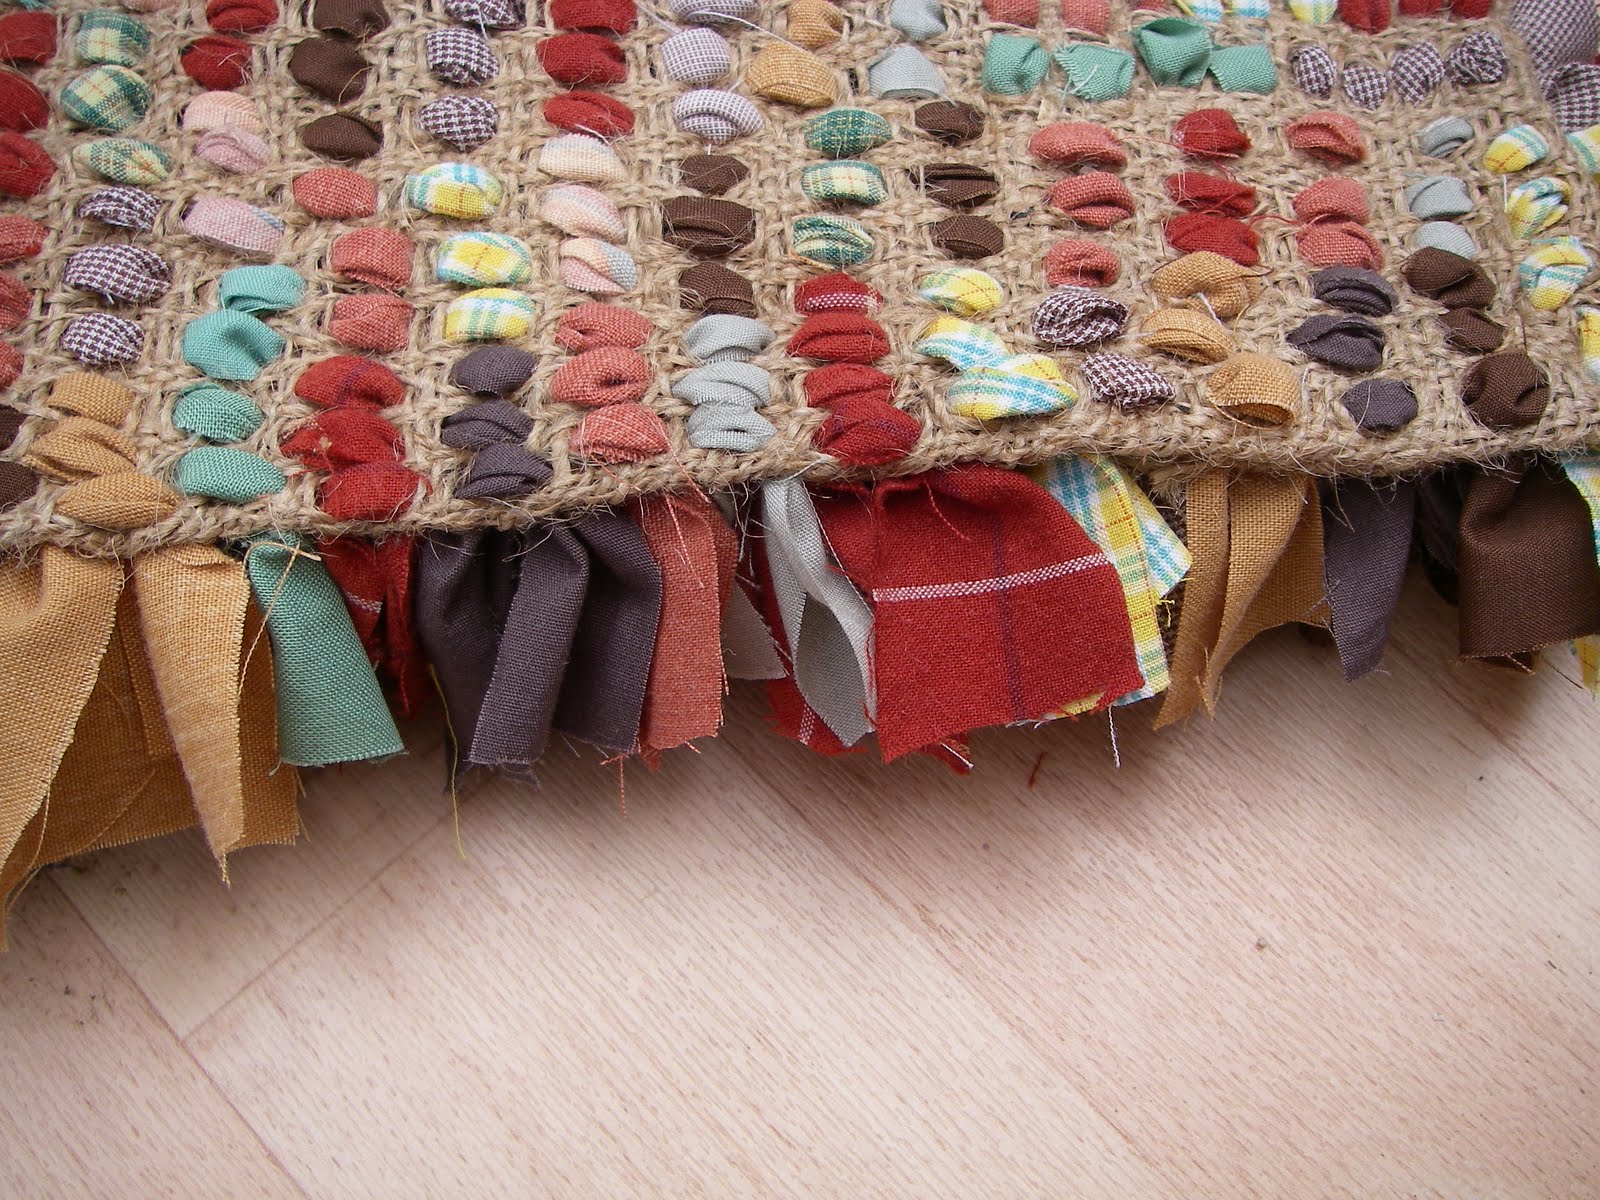
The method of rugging is very flexible,
there is no need to work in straight rows


When the rug is complete give it a good shake
to remove bits and produce an even appearance
DO NOT VACUUM the rug!
Occasionally take out doors and shake to remove dust!

ENJOY :)
Posted by The Patchwork Heart
Wednesday, August 4, 2010
Lillie Mae's Crafts August Newsletter
Good Morning everyone,
I finally finished the August newsletter and am posting it here for every one's convenience. If you have subscribed to it, you will also receive a copy in your e-mail.
This newsletter has a few surprises in it I think...ever heard of wax dipped toilet paper?
Click on the title above to download.
Have a great day,
Brenda
Friday, July 16, 2010
This 'n' That E-Book

Hi Everyone,
I've just finished a brand new E-Book that I hope everyone will enjoy. It's packed full of tips and tricks, a few projects, and 2 brand new patterns.
To be sure your patterns pieces print out at the right size, please visit my Printing Instructions page.
Have a great day everyone,
Brenda
Monday, July 12, 2010
Tear Drop Annie Doll


My sweet friend Brenda who is the master mind behind starting the original Pins and Needles site on Ning.... has so kindly let me post this Annie Tutorial for your fun.
Please do not sell these commercially or use them or the pattern as your own for resale.
Brenda is a very generous creative artist that has giving us all permission to have her patterns free off of her fun and creative web sites. If you want more of her amazing Annie Patterns run over to: LillieMaesBlogspot.
Subscribe to:
Posts (Atom)